
In Acumatica, you can use snapshots to easily create a new tenant by copying settings from another tenant. Snapshots can be used as templates to quickly and easily set up new tenants similar in configurations; such as a test environment. They can:
- Contain full or partial data
- Can be saved locally
- Can be imported and restored to another tenant
Here’s How:
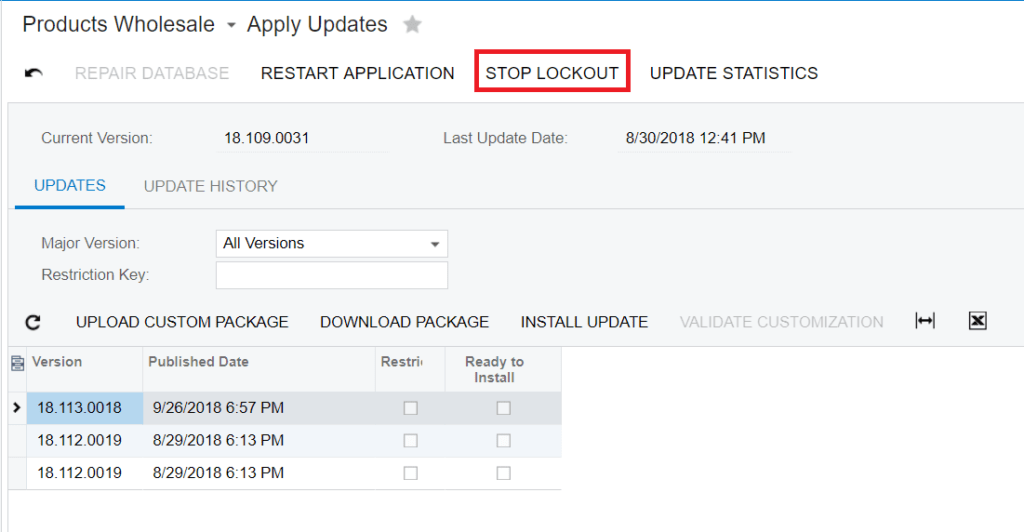
First, schedule a lockout so no one is in Acumatica while you are creating the Snapshot. The best time to do this is after-hours. You can schedule a lockout by going to the Apply Updates screen shown below. Click on Schedule Lockout.

Next, you will see a pop-up screen where you can adjust the date and time for the lockout, or just click OK to initiate.

Next, create your own new Tenant. Go to the tenants screen and click on the “+”. Enter a Login Name, Tenant Name, and click Save.

Once you save this, you will be logged out of the instance and you will need to log back in again. Only users that have administrative access can log into Acumatica while it is in Maintenance Mode (Lockout).

When you log back in, you will be taken to the Enable/Disable Features screen. You will need to click “Enable” to activate the features.

Next, go back to the Tenants screen. Select the Tenant ID you want to copy from in the Tenant ID Box.

Once you select the Tenant you want to replicate, click on Create Snapshot.

This will give you a pop up window where you will enter the description and then select the Export Mode.

In our example, we are only exporting the settings. 
Now, check the box to Prepare for Export and then click OK.
Acumatica has now begun the process to create a snapshot of the Tenant with the settings only.
When the snapshot is done and ready, you will see a green circle with a check mark!
If you have more than one snapshot, highlight the one you want to export by clicking on it and then click Export Snapshot.

Importing snapshots
Once you have exported your snapshot in Acumatica, you need to save it on your computer so you can import it into your new Tenant. Save the snapshot on your computer and then click save again on the Tenants screen.
Next, select the Tenant you want to copy the settings to from the other company. Then click Import Snapshot.

The upload window will pop up and you need to select the snapshot you saved under Choose File. Once you have selected the file, click Upload.

This will bring the snapshot into this Tenant and will be shown in the listing when completed. You will also see a green circle with a check mark.

Then click Restore Snapshot.

You should receive a warning that this action will overwrite all the data in the company (the destination Tenant). Make sure you have selected the correct Tenant, or you could overwrite the wrong company. If everything looks correct, click OK.

This will now bring in the data that was in the snapshot and put it in the new Tenant you created. When complete, it will log you out of the instance and you will need to log back in. 
You should now be able to log into the new Tenant and see there is no data and only settings. Once you have confirmed all looks good, don’t forget to remove your Scheduled Lockout. Go to the Apply Updates screen and click Stop Lockout. Now everyone can log back in again.
Your new Tenant is ready to use. You can add any additional information you will need for it to be operative.
For more great Acumatica tips and tricks, subscribe to our Acumatica blog.