
With Covid still around, many people want to find a way to personalize their holiday greetings. But after handwriting messages and stuffing envelopes, the last thing you want to do is write out address after address. Check out this blog on how to set up a mail merge to print labels for your mailings.
Let’s get started with mail merge:
With this example, I will be creating mailing labels.
Wherever your data source is coming from, either ERP or CRM, make sure you SAVE AS a CSV file (comma delimited). The merge will not work with your typical XLS format.

Next, open a new document or your form letter. At the top toolbar ribbon, click on Mailings > Start Mail Merge > Labels (or Letters, E-mail Messages, or Envelopes).

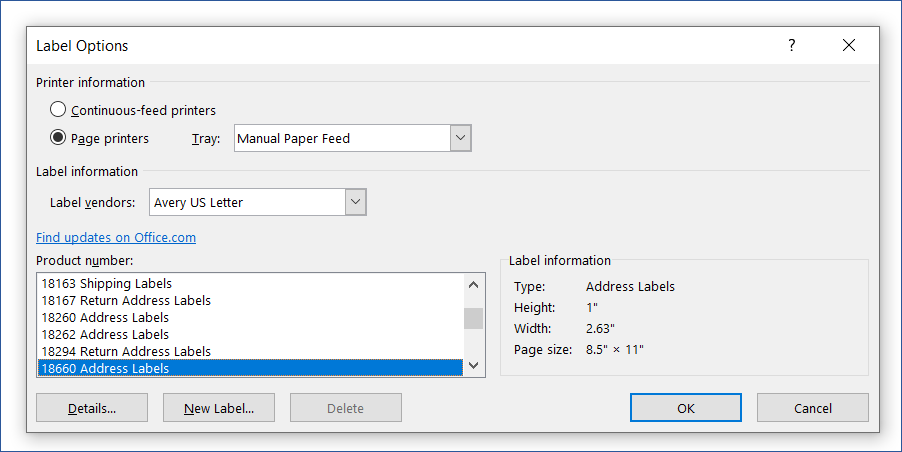
A new dialog box will appear to select the size of the label you want to create and print. Avery Labels are the standard on the market, and Microsoft Word will include those formats in the list. Note, Avery can be quite expensive; if you need to, you can purchase the store brand which will have the equivalent to an Avery label listed on the package. Scroll through the list and select the label number that corresponds to what is listed on the package. Select it, then click OK.
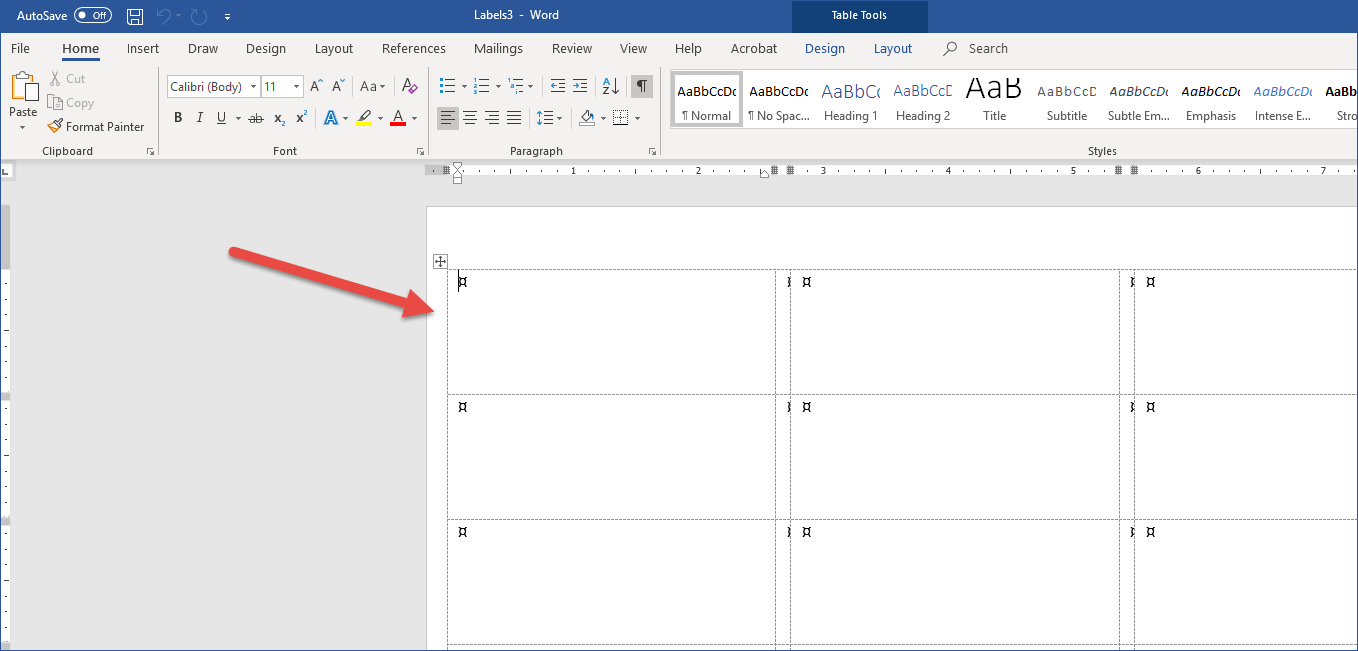
Once you click OK, your label template will appear.
Next, click on Select Recipients > Use an Existing List. If you don’t have a list you can create one by using the Type a New List feature, or even choose from Outlook Contacts. I’m going to use my generic existing list.

Locate and select your data source.

- To type a new list: Click in the first field and begin typing and tabbing through each field. When done, hit OK.


After you have completed adding people to your new list, click OK. Another dialog box will appear asking you where to save your new list. Save to your desktop for an easy find.
Here’s where the fun begins
Once you click open, your document will be set up to add your contacts.

Before we move forward with the merge, you will need to make sure all fields are mapped correctly. Make sure all fields in the right-hand column match with the left-hand column. To change, simply click on the downward arrow and select the correct field name. In my example, I will change Courtesy Title to “not matched” and change the Job Title to “Title.”

If you need to make changes to your recipient list or pick specific people to receive the mailing, you can click on Edit Recipient List.

Click the check marks to add or remove a recipient. You can also search, or sort this list, find duplicates, etc. I prefer to have the data source ready to go prior to this step, but sometimes, you may find that one or more contacts need to be removed. You have the option to make changes before the final merge.

Once you have made your changes, you need to set up your label.
Next, click Address Block in the tool bar. A dialog box will appear giving you many options. I have selected the standard. Once you have selected your Address Block format, hit OK.
Note, when doing form letters, you will need to put your cursor where you want a contact name displayed using the “Insert Merge Field” in stead of “Insert Address Block” When inserting merge fields in your form letter, you will need to include spaces in between each field and punctuation where necessary. Using the manual feature is simple but can be time-consuming and is mainly used for form letters that have a contact name throughout the message of the letter. Contact me at Lchristoff@crestwood.com for help with form letters.
Now, you will need to click Update Labels. Once you do that, every label will display the Address Block as seen below.

You’re Now Ready to Merge
Word gives you the option to preview your results, but I prefer to go directly to the tool Finish & Merge and select Edit Individual Documents…

This will allow you to edit the labels so that they will look more professionally formatted than what is displayed. As you can see, in my results above, the spacing between the lines are at 1.5, but they should be single lined.
In order to fix the line spacing you will need to click Control A to select all, then go to the Home Menu on the Ribbon and click the paragraph settings to the right of the word Paragraph, then adjust the spacing in the spacing section. Type in the number zero in the before and after section and make sure line spacing is at single, then hit OK.

Line Spacing complete:

If your label displays an extra line at the bottom of your address block, you can go in and remove that from every label manually or just leave it alone.
I also prefer my labels to not be flush against the left border, so I will again select all and move the Left Indent bar over to the right to create some space between my text and where the label will be peeled. You can also change the font specifications (font, size, color, italic etc.).

If you chose to remove that extra line, you can go even further in formatting and adjust the contacts on the label to be aligned horizontally or vertically on each label by clicking your preferred setting in the alignment section under Table Tools > Layout.

Now, you’re ready to print. Make sure you follow directions on your printer to print labels. Every printer is different. If you think you might use these labels again, it may be a good idea to save them for future use. And that is how to create a Mail Merge.
Subscribe to our blog for more tips and tricks using Microsoft Office 365 suite.