
In Microsoft Dynamics 365 Business Central, it’s easy to send a refund to a customer and the customer doesn’t need to be set up as a vendor record.
If a credit memo document was posted for the customer, the refund can be applied to that credit memo. Or the refund can just go against the customer account without applying to anything.
In this example, there is an existing credit memo for the customer.
Issue the Refund Against a Credit Memo
Go to Cash Management, then Payment Journals to enter a new payment journal.
- Select the type as Refund and select the customer number.
- Then go to Process > Apply Entries to select the credit memo.
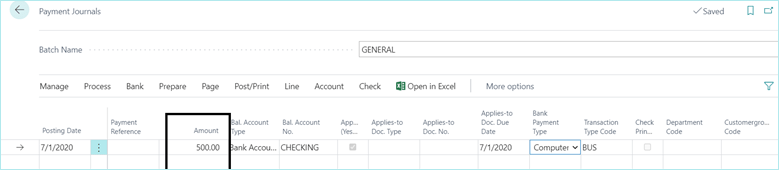
Payment journal

Highlight the credit memo and then click Set Applies to ID.

This will automatically update the amount that will be paid to the customer.
Be sure to fill in the Bal Account Type as Bank Account and choose your checkbook. Also select Computer Checks as the Bank Payment Type if you wish to print an actual check.
When you are ready, go to Check > Print Check and this will print a check to your customer just like a vendor payment!

The G/L entries will credit the bank account/GL cash account and debit the A/R account assigned to that customer.

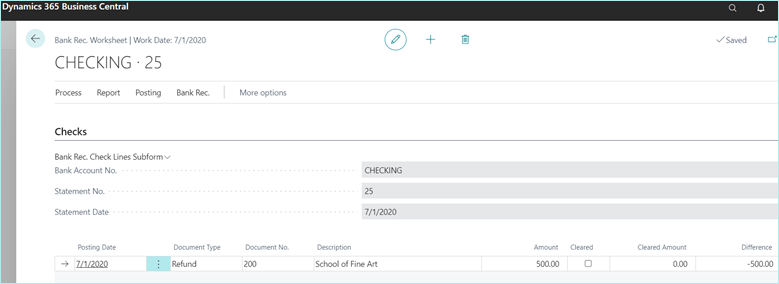
The check will show in the Bank Reconciliation in the Checks section as a refund type.
It’s that simple to issue to a refund in BC! Our YouTube channel has more quick pointers for navigating in Business Central, so be sure to check it out and subscribe while you’re there.