
Adding images can be a terrific way to illustrate valuable information or add a decorative accent to existing text. We add images to documents to entice the reader to continue reading through a document or story. It gives the reader a visual of the pending story.
If you’ve known Microsoft Word from its start, you would know it was released back in 1983 for the MS-DOS operating system. Back then, photos were not primary use for this word processing program. It was a struggle working with images in Word; we’ve experienced scalability issues, text wrap issues, and (my favorite issue) “why won’t my image stay on the page?”
As time progressed, Word got more intuitive. Now you can add images, shapes, icons, 3D models, charts, SmartArt, screenshots, and even video to your documents. You can search through your stock images, Microsoft’s vast collection of images, or even search the web through Bing for the perfect match.
In this blog, I will go over how to add an image, wrap text around an image, how to group images, and resize them to stay on a page.
Adding an Image to a Document
To add an image, click on the Insert Tab in the Ribbon menu, then click on Picture. If you have an image on your local computer/device, click on This Device, or if you would like to search for an image, you can select Stock Images or Online Pictures by Bing.
Note: The steps to adding an image to a document is universal throughout all of Microsoft 365 suite of Office applications.

In this demonstration, I will search for Stock Images. As you will see by the screenshot below, there are five categories in which you can search through: Images, Icons, Cutout People, Stickers, and Illustrations. Microsoft allows you to select any number of images from the criteria and insert them all at once by clicking on the Insert button at the bottom of the dialog box (highlighted in blue). The button will also show you how many images/icons/etc. you have selected. I prefer selecting one image at a time, otherwise Word will plop all images in at one time where your cursor is set, you will then have to cut, copy and paste those images throughout your document.

Resizing and Rotating Standard Images in Word
As mentioned above, where you set your cursor prior to inserting a picture is where your image will be placed.
First, you may want to resize your image, and you can do that by clicking once on your image and grab a corner handle to click and drag inward or outward to resize. This is a standard practice for all images (including icons, illustrations, etc.). When you click on a corner, this will resize your image proportionately. If you want to stretch or distort your image for a differnt look, grab the center handles and click and drag inward or outward to distort (i.e. resize the image either lengthwise or widthwise).
Note: If your image doesn’t fit the page size criteria, it will jump to the next page. To keep with text you will need to adjust the size of each photo added.

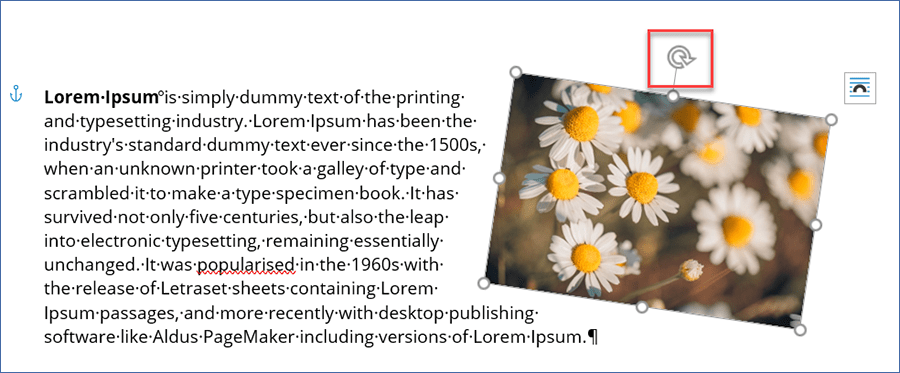
Click and drag the Rotate arrow in any direction to slant your image, or grab a corner to quickly flip (reverse) the photo.
Text Wrap Around Images in Word
Next, you will want to decide how you want the text to wrap around your image. There are two ways in which you can access the menu tools to do so:
- To quickly edit the text wrap, right click on the image and chose Layout options.
- To add precise measurements, click Wrap Text in the Picture Format menu item then select More Layout Options.
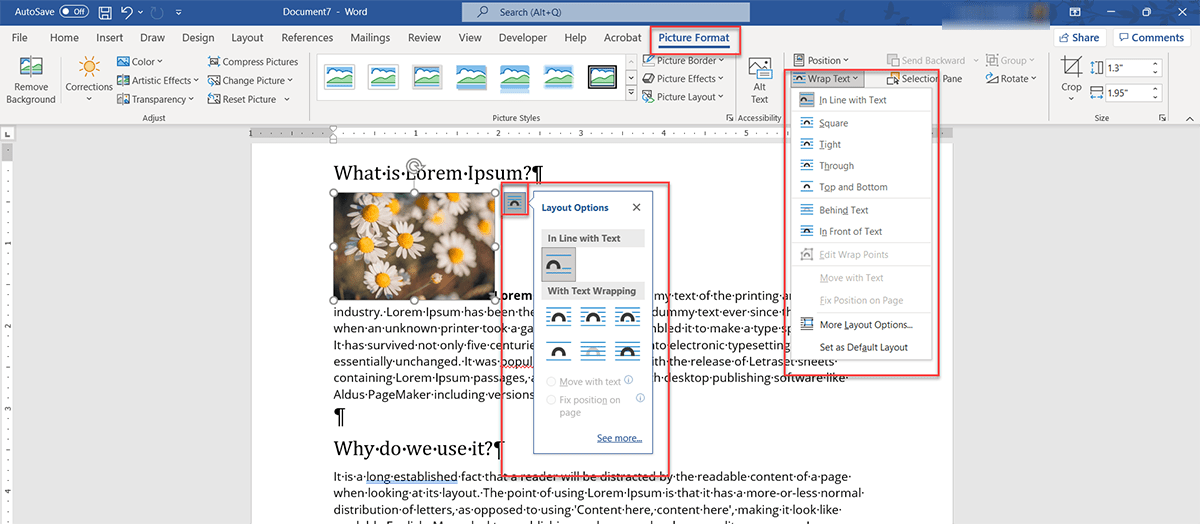
Once you select any of the “With Text Wrapping” tools, you will be able to reposition your image freely anywhere in the document by clicking and dragging your image where you want it to go.

Different Types of Text Wrap
In Line with Text
In Line with Text is your standard default placement. Anywhere your cursor is, is where the image will be placed. If you click and drag your image elsewhere in the document, it will always be anchored with text and be placed where the cursor is.

Square Text Wrap
Square Text Wrap will wrap your text around the image as a square.

Tight Text Wrap
Tight Text Wrap will bring text the closest to the image.

Through Text Wrap
Through Text Wrap will allow your text to flow through your image. Text will stop on one side and continue on the other side.

Top and Bottom Wrap
Top and Bottom Wrap will position your text above and below your image.

Behind Text Wrap
Behind Text Wrap will let you place an image behind text, and is a great way to add text to a picture.

In Front Text Wrap
In Front Text Wrap will block text from showing up in the document.

Next while determining your text wrap specs, you may want to consider how you want your text to flow with images. You can:
- Move with text – Allows your image to move with added or deleted text.
- Fix position on page – Image will stay in current position regardless of added text.

Click See more… to add exact measurements to Layout: Position, Text Wrapping, and Size.

You can add as many images you want to a document, but keep in mind, the more you add, the slower your system may get when going to save or edit your work.
Follow the same steps above to add multiple images.
Edit Wrap Points
A cool feature I like is the Edit Wrap Points, this allows more freedom to adjust the text wrap to allow more or less space in between text and graphics.

Right click on your image, select Wrap Text, then Edit Wrap Points, then click and drag end points to adjust spacing between image and text.

Insert Caption
You can also Caption your photo. Adding a caption to your photo will give the reader insight to what you are trying to say or you can simply give credit to photographer. This caption text will appear along with the pictures depending on the position you choose in the Caption properties box.
To add a caption, right-click on your image, select Insert Caption… and then add the text and other attributes you’d like.

Group Photos
Group Photos – by clicking and holding down the Shift key and using your mouse, click on each image you would like to Group together, then right click on your mouse to select Group (or Ungroup). You can then reposition the two images together, anywhere in the document. You can also resize the images as a whole, by clicking and dragging the corner handle of the grouped image.

I hope you get the essence of adding and formatting text and images in your Word documents! In my next few blogs, we’ll go over the fun stuff: adjusting colors, brightness/contrast, artistic effects and working with vector graphics. Don’t forget to subscribe to our blog for more tips and tricks.